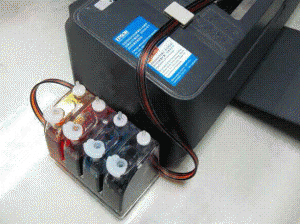
I posting tutorial installation Continuous Ink System ( CIS) in Epson T10, T11 and TX200 after there are question of visitor of this blog. This Tutorial can be used in Epson T10, T11 and TX200. Modify printer can cause printer error or damaged and cause warranty at your printer lose.
Step by step installation Continuous Ink Suply System (CISS) in Epson T10, T11 and TX200


all information taken from http://www.ink2000.com/
Step by step installation Continuous Ink Suply System (CISS) in Epson T10, T11 and TX200
- Turn off the printer, then move the cartridge carrier to the right side of the printer, and then take out the original cartridges.

- Use the screwdriver to remove the cover of the cartridge carrier. beware of when opening this cartridge cover.


- Push the cartridge carrier to the right side.

- Slide the cartridge under the bar, and take out the cartridges from right side.


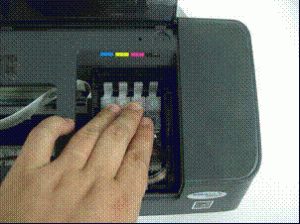
- Move the cartridge carrier back to the middle position of compartment, in order to install the cartridges.
- Install the cartridge in their corresponding color position.

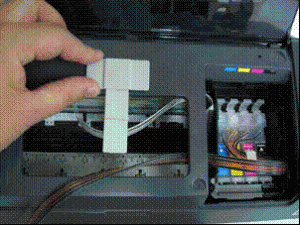
- Place the T shape adhesive pad on the middle position of compartment.

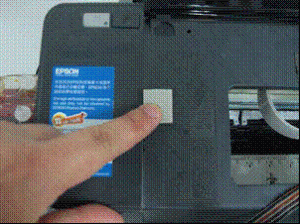
- Place the square adhesive pad on the left position of the printer.

- Attach the tubing between the T shape adhesive pad and square adhesive pad.

- Place adjust the tubing line, make sure the tubes are not twisted and are straight, with enough room to move back and forth freely with the cartridge compartment movement line.
- The installation is completed.

all information taken from http://www.ink2000.com/
0 comments:
Post a Comment